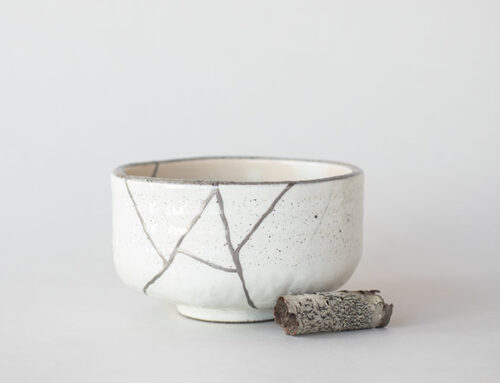
The good, the bad and the ugly of firing methods
When we talk about firing methods, we’ll often talk about oxidation and reduction.
Oxidation and reduction are different processes. Therefore, the same glaze can look very different when fired in either atmosphere.
Oxidation means having a good supply of oxygen in the kiln. When a kiln heats up, molecules attach to the pottery and inter-react with the glaze and clay surface. The oxygen attracts electrons from the glaze and this causes them to oxidize.
And reduction is when the amount of free oxygen in the kiln is restricted. As a result, gases will build up and extract oxygen out of the metallic oxides in the clay and glazes. The oxides then take on a reduced and concentrated form. This can affect the color and texture of the oxides.
Let’s talk about the good, the bad and the ugly of each type of firing methods:
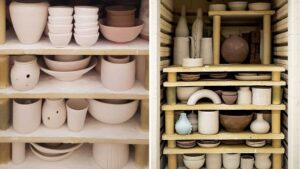
Electric kilns:
The good: are the most used kilns by potters today. Easy to install and simple to use as most have digital control panels. They are made of insulating bricks, which are etched with channels that run around the whole of the kiln. Metal coils run in the grooves. High electrical currents are passed through the metal coils which function as heating elements.
The bad: you can’t use them for reduction, nor burning anything that creates a flame inside it.
The ugly: electricity bills…. Nowadays, not to be overlooked.
Gas kilns:
The good: A gas kiln uses combustion to heat the insulated internal cavity. You can use gas kilns for reduction firing, and salt or soda firing. These can create dramatic results that can’t be achieved with an electric kiln.
The bad: the low temperature limitations and the fragility of the ware. Also, many pieces break during the firing process due to the erratic nature of the firing and poor insulation.
The ugly: difficult to get permits to have gas kilns in the cities. It requests a vent or a chimney to the outside. If you have a studio in a countryside, then lucky you.
Wood burning kilns
The good: wood firing is an old practice that involves burning wood to heat the kiln chamber. Because of the simplicity of the materials required, many potters construct their own wood firing kiln.
The bad: It is not an easy option for firing clay. With an electric kiln, you flick a switch, program a digital panel, and get on with your life. With a wood firing, that’s not the case, it takes a lot of time and effort and must be monitored all the time to keep the fire stoked and at the right temperature. It can take up to three days to fire clay in a wood firing kiln.
The ugly: because of the wild nature of fire, there is often movement during the firing. This can result in pottery breaking and fusing together with one another.
Raku firing:
The good: Raku is a whole different thing: it’s taking the piece out of the kiln when still red hot.
The piece is then placed in a container that has paper or sawdust in it. This will reduce the oxygen and rapidly cool down the piece. As a result, the glaze cracks and creates beautiful, crazed effects. You can buy kilns specifically designed for raku firing or make them yourself out of brick or other simple containers, such as an old metal oil drum.
The bad: Raku is generally a low fire kiln process. As such raku ware is normally quite porous, meaning the pottery is fragile and the glazes flake easily. Deco purpose only.
The ugly: the high temperature you’ll face when opening the kiln. High risk of burning.
The potter must be very careful and use long tongs. Top-loading kilns are not ideal, as you must lean over the top as it radiates intense heat.
Pit firing:
It’s one of the oldest methods of firing clay dating from around 800-1066AD. Still used today because of the exquisite looking effects that can be created.
The good: pit firing doesn’t need a kiln, just a hole in the ground deep enough to contain the pieces of pottery and some combustible materials like wood, sawdust, and leaves. The bottom of the pit is covered with a layer of combustibles. The pottery is then placed on this layer with space between the pieces. More combustible material is put on top of and around the pottery. We light the fire and let it burn. Once the fire has reduced, it’s left for few hours then the pit can be covered with sand. This will reduce the amount of oxygen and create a reduction atmosphere. The pit fire then needs to be left overnight, until the fire has burnt itself out. The pieces are then carefully removed. Washed and polished with wax.
The bad: it’s a low fire technique. Enough to turn clay into ceramics, but low fire anyways.
The ugly: Protect you skin by wearing disposable rubber gloves. Make sure nobody is downwind, otherwise they will be breathing chemical fumes which could be poisonous.
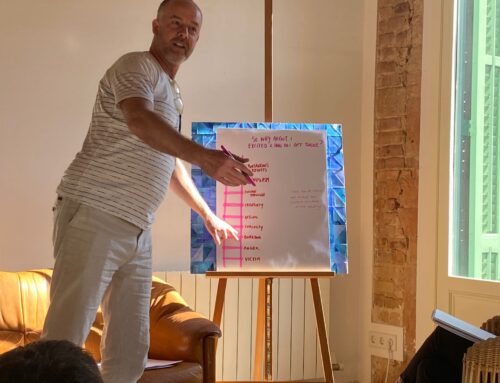
As we’re based in a city, we only have electric kilns. And as these are the most used ones, we came up with a masterclass to teach you all related to kilns and industrial glazes. You’ll find all the details here. It’s held by Muriel Dumahut, ceramicist, our studio manager and teacher.
Hope you liked this post! Let me know if you’re enjoying this newsletter format.
Un abrazo! Paula